
Raspberry Pi is a versatile, small computer that has gained immense popularity among hobbyists, educators, and tech enthusiasts. This step-by-step tutorial will guide you through setting up your Raspberry Pi. You will install a Linux operating system. By the end of this guide, you’ll have a fully functional Raspberry Pi ready for experiments, projects, and learning!
Table of contents
1. Introduction
Raspberry Pi is not just a computer; it’s a platform for creativity and innovation. It can run various Linux distributions. You can transform your Raspberry Pi into anything from a media center to a home automation system. This tutorial will cover everything from setting up the hardware to basic configuration.
2. What You Need
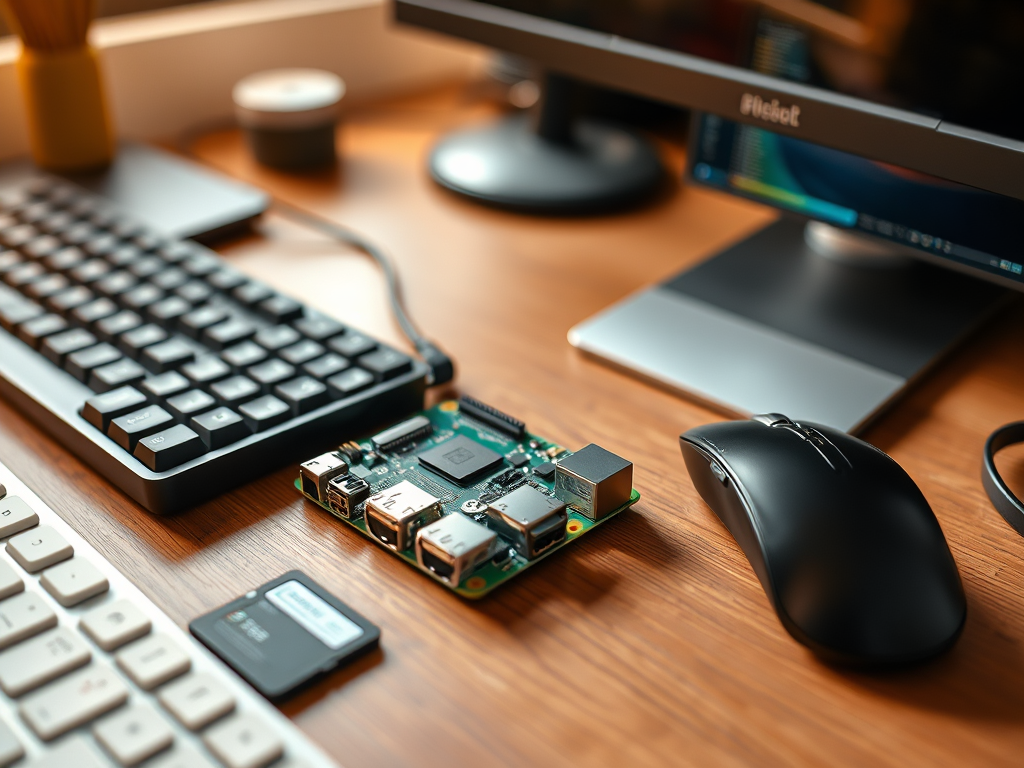
Before we jump in, ensure you have the following items:
- Raspberry Pi (Model 3, 4, or later)
- Micro SD Card (at least 8GB, Class 10 recommended)
- Power Supply (5V, compatible with your Raspberry Pi model)
- HDMI Cable (to connect to a monitor)
- Monitor (or TV)
- USB Keyboard and Mouse
- Internet Connection (Ethernet cable or Wi-Fi)
3. Downloading a Linux Distribution
Raspberry Pi supports various Linux distributions. The most popular choice is Raspberry Pi OS, but you can also install Ubuntu, Arch Linux, or others. We will focus on Raspberry Pi OS in this tutorial.
Steps to Download Raspberry Pi OS:
- Visit the Raspberry Pi Downloads page.
- Choose the version of Raspberry Pi OS you want. The “Raspberry Pi OS with desktop” is recommended for beginners.
- Click the “Download ZIP” button.
- Once the download is complete, extract the ZIP file to obtain the
.imgfile.
4. Preparing the SD Card
You will need to write the Raspberry Pi OS image to the micro SD card. Follow these steps:
Using Raspberry Pi Imager:
- Download and install the Raspberry Pi Imager for your operating system.
- Insert your micro SD card into your computer.
- Open Raspberry Pi Imager.
- Click “CHOOSE OS” and select “Raspberry Pi OS (32-bit)”.
- Click “CHOOSE STORAGE” and select your micro SD card.
- Click “WRITE”. This process will take a few minutes.
- Once complete, safely eject your SD card.
Using Balena Etcher (Alternative):
- Download and install Balena Etcher.
- Open Balena Etcher and click on “Flash from File”.
- Select the downloaded
.imgfile. - Select your SD card.
- Click “Flash!” and wait for the process to complete.
5. Connecting Peripherals
Once your micro SD card is ready, you’ll need to set up your Raspberry Pi.
- Insert the micro SD card into the Raspberry Pi.
- Connect the HDMI cable to your monitor.
- Plug in the USB keyboard and mouse.
- If using Ethernet, connect the cable to the Raspberry Pi.
- Finally, connect the power supply to the Raspberry Pi to boot it up.
6. Booting Up Raspberry Pi
Once powered, your Raspberry Pi should start booting. You will see the Raspberry Pi logo followed by a welcome screen.
Initial setup:
- Language and Region: Choose your preferred language and region.
- Wi-Fi Setup: If using Wi-Fi, select your network and enter the password.
- Update Software: It may prompt you to update; it’s advisable to do so.
- Create User Account: Set up a username and password for your Raspberry Pi.
- Finish Setup: Once you complete the steps, the system will take you to the desktop.
7. Configuring the Operating System
After your Raspberry Pi boots for the first time, you’ll want to configure a few settings:
Accessing the Raspberry Pi Configuration Tool:
- Click on the Raspberry Pi menu (top left corner).
- Navigate to Preferences > Raspberry Pi Configuration.
- Under the System tab, you can change the hostname and configure boot options.
- Navigate to the Interfaces tab to enable GPIO, I2C, and other peripherals.
- Under Performance, you can choose to overclock your Raspberry Pi for better performance.
Updating & Upgrading the System:
Keep your system up-to-date:
Open a terminal and run:
sudo apt update
sudo apt upgrade
8. Common Uses for Raspberry Pi
Once set up, there are numerous projects you can undertake with your Raspberry Pi:
- Media Center: Use software like Kodi or Plex to stream your media.
- Retro Gaming: Install RetroPie to play classic games.
- Home Automation: Control devices in your home with Home Assistant.
- Learning Programming: Use it as a platform to learn languages like Python or Scratch.
9. Troubleshooting Common Issues
Issue: Raspberry Pi doesn’t boot
- Check Power Supply: Make sure your power supply is working correctly.
- Inspect SD Card: Ensure that the SD card is correctly formatted and the image was written successfully.
Issue: No HDMI output
- Check Connections: Ensure both the HDMI cable and monitor are working.
- Try Different Resolution: You might need to edit the
config.txtfile in the SD card to set a specific resolution.
10. FAQs
1. Can I use a different Linux distribution on my Raspberry Pi?
Yes, you can use other distributions like Ubuntu, Arch Linux, and more. Just ensure they are compatible with your model of Raspberry Pi.
2. Do I need a keyboard and mouse?
A keyboard and mouse are recommended for the initial setup. You can remove them later if you choose to access it remotely.
3. How do I access my Raspberry Pi remotely?
You can use SSH or VNC. Enable SSH from the Raspberry Pi configuration settings under “Interfaces.”
4. Can I run Windows on Raspberry Pi?
While you can run a version of Windows called Windows 10 IoT Core, traditional Windows applications are not supported.
5. How can I expand storage on my Raspberry Pi?
You can use external USB storage devices or a network-attached storage (NAS) to expand your Raspberry Pi’s storage options.
11. Conclusion
Setting up a Raspberry Pi with Linux is not just about getting it to function. It’s about opening the door to endless possibilities in computing and programming. Whether you’re playing retro games, creating a media center, or learning coding, the Raspberry Pi is a fantastic tool. By following this guide, you have equipped your Raspberry Pi for numerous projects and experiments. Happy coding!


